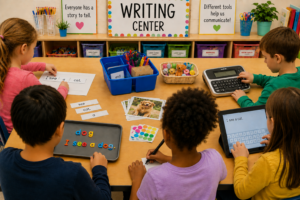
Setting up your occupational therapy (OT) room is a crucial step in creating an environment that fosters progress and comfort for your students. Whether you have a large classroom or a small shared space, the goal is to create an organized, functional, and welcoming area that enhances therapy sessions. Here are some essential tips to help you design your OT room effectively.
1. Assess Your Space
Large Classroom:
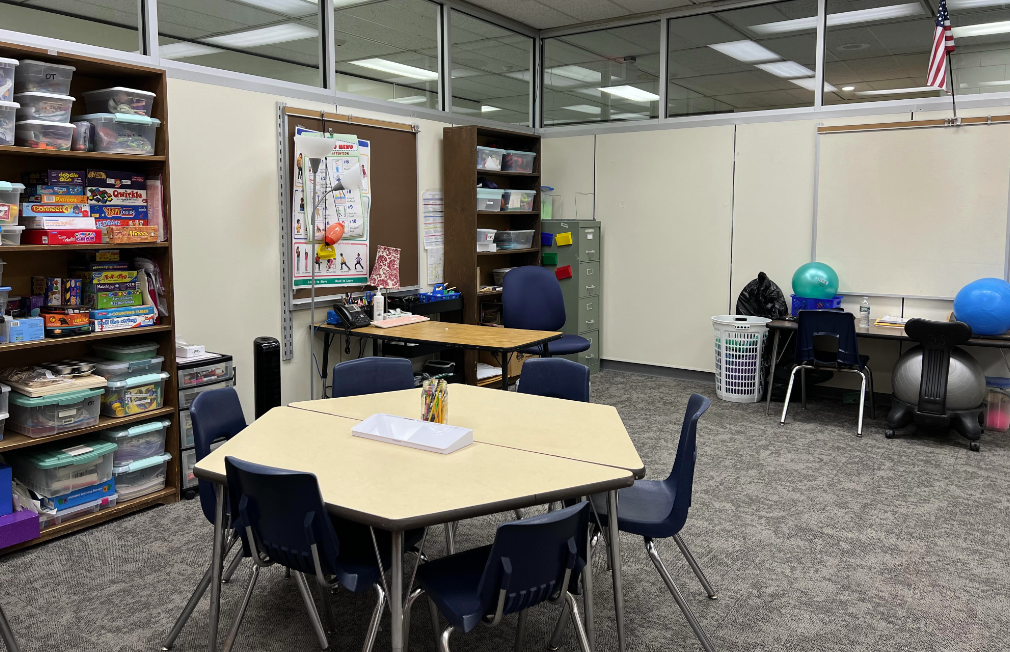
- Zoning: Divide the room into distinct zones for different activities (e.g., a sensory area, fine motor skills zone, and a quiet corner). Use rugs, shelves, or curtains to create boundaries.
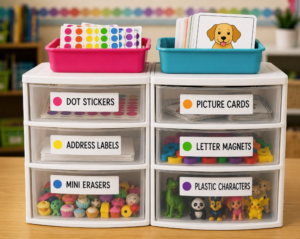
- Storage Solutions: Invest in cabinets, shelves, and bins to keep materials organized and easily accessible. Label each storage area to make it simple for students and staff to find and return items.
Small Shared Space:
- Multi-Functional Furniture: Opt for furniture that serves multiple purposes, such as a table that can be used for fine motor activities and also as a sensory table.
- Vertical Storage: Utilize wall space with shelves and hooks to store items and keep the floor area clear.
- Portable Options: Use rolling carts or portable bins that can be moved in and out of the space as needed.
2. Choose the Right Furniture
Large Classroom:
- Adjustable Tables and Chairs: Ensure that tables and chairs are adjustable to accommodate students of different sizes and needs.
- Comfortable Seating: Provide a variety of seating options, such as bean bags, floor cushions, and standard chairs, to cater to different sensory preferences.
- Therapeutic Equipment: Include larger therapy equipment like therapy balls, balance beams, and swings if space allows.
Small Shared Space:
- Compact and Foldable Furniture: Use foldable tables and chairs that can be easily stored away when not in use.
- Versatile Seating: Choose seating that can be stacked or nested to save space.
- Portable Therapy Tools: Opt for smaller, portable therapy tools like hand grips, putty, and resistance bands that can be stored easily.
3. Organize and Label Materials
Large Classroom:
- Categorize Supplies: Group similar items together (e.g., all sensory tools in one area, all fine motor tools in another) and label each category.
- Student Access: Place frequently used items at a height that students can reach independently to encourage self-sufficiency.
Small Shared Space:
- Clear Containers: Use clear containers to store materials, allowing you to see what’s inside at a glance.
- Label Everything: Label shelves, bins, and containers to make it easy to find and return items, maintaining an organized space.
4. Create a Sensory-Friendly Environment
Large Classroom:
- Sensory Zones: Designate specific areas for sensory activities, such as a calming corner with soft lighting, weighted blankets, and noise-canceling headphones.
- Visual Supports: Use visual schedules, charts, and cues to help students understand the layout and expectations of the room.
Small Shared Space:
- Portable Sensory Tools: Use portable sensory tools like fidget toys, noise-canceling headphones, and weighted lap pads that can be easily stored and retrieved.
- Flexible Sensory Options: Incorporate flexible sensory options like a small box of sensory toys that can be brought out as needed.
5. Personalize the Space
Large Classroom:
- Student Artwork: Display student artwork and projects to create a sense of ownership and pride in the space.
- Inspirational Decor: Use posters, quotes, and colorful decorations to make the room inviting and motivating.
Small Shared Space:
- Rotating Displays: Create a small bulletin board or wall space to showcase rotating student work and seasonal decorations.
- Personal Touches: Add personal touches like small plants, a welcome sign, or cozy elements that make the space feel warm and welcoming.
6. Ensure Safety and Accessibility
Large Classroom:
- Clear Pathways: Keep pathways clear of obstacles to ensure students can move safely and independently.
- Accessible Storage: Ensure that essential tools and materials are easily accessible to both students and therapists.
Small Shared Space:
- Tidy and Organized: Regularly tidy up the space to keep it free from clutter and hazards.
- Adaptive Equipment: Provide adaptive equipment and tools to ensure all students can participate fully in activities.
By following these tips, you can create an OT room that is both practical and inviting, whether you have a spacious classroom or a compact shared space. The key is to maximize the functionality of your area while creating a warm and supportive environment for your students. Happy organizing!
About the Author
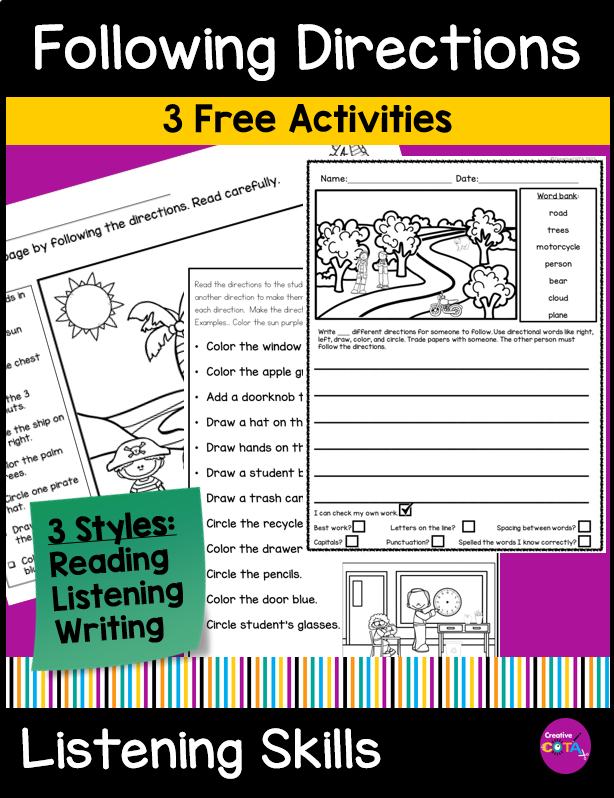
I am a Certified Occupational Therapy Assistant (COTA) and have been working in a public school system for more than 25 years. My resources can be found on TPT, BOOM Learning, Made by Teachers, Classful, and Your Therapy Source. I appreciate your interest wherever you wish to shop.
My mission is to help you find creative ideas to incorporate fine motor, visual perception, gross motor, and social-emotional learning into your lessons.
I hope you consider signing up for my Free Resource Library with your Email. I send out emails about once a week and share resources, tips, and planning ideas for your classroom or occupational therapy needs. Hopefully, these help your students work on building their skills in a fun and engaging way.
Thank you for your interest in my resources and ideas. I hope you will consider following my journey on TPT or wherever you wish to shop.