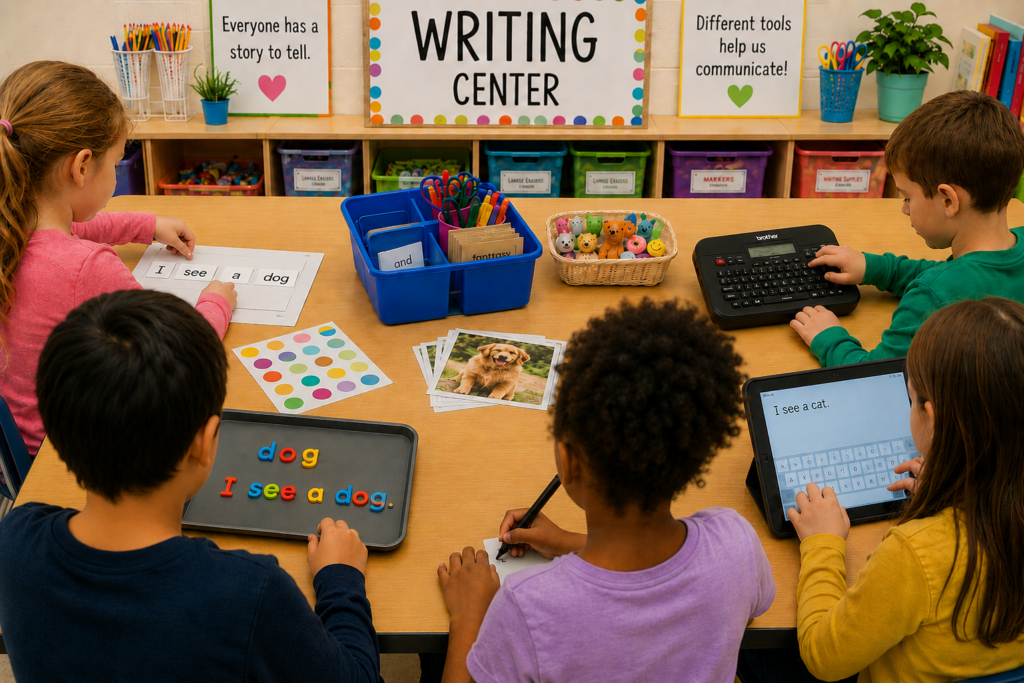
Walk into almost any elementary classroom during writing time and you’ll probably notice the same thing. Every student is expected to use the same writing tool: a pencil.
For many children, that’s exactly what they need. But for struggling writers, reluctant writers, students with fine motor challenges, AAC users, and many neurodivergent learners, the pencil itself can become the biggest barrier to showing what they know.
What if every classroom had a writing center where students could choose the writing tool that helped them communicate best?
That’s the idea behind an Alternative Pencil Classroom Writing Center. The best part is that you don’t need expensive technology or a completely new writing curriculum to make it happen.
What Is an Alternative Pencil Writing Center?
An alternative pencil writing center is simply a place where students have multiple ways to generate text. Instead of every child reaching for the same pencil, they can choose the writing tool that best matches their strengths while still participating in the same literacy activity.
The focus shifts from “How are you writing?” to “What do you want to say?”
Two Easy Ways to Set Up Your Writing Center
Create a Permanent Writing Center
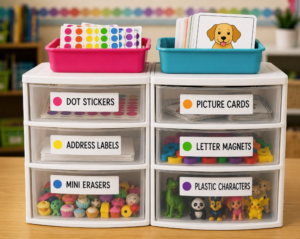
If you have the space, dedicate a small shelf, rolling cart, or table to alternative pencils. Store each tool in a labeled container so students can independently choose what works best for them. As students become familiar with the different options, choosing a writing tool becomes just another part of their writing routine.
Create a Grab-and-Go Writing Bin
If classroom space is limited, create one portable bin filled with alternative pencils that can be pulled out once or twice each week during writing time. This is often the easiest way for classroom teachers to introduce alternative pencils without changing their entire literacy block. Simply pull out the bin during writing centers, small groups, or independent writing.
15+ Things to Include in Your Writing Center
One of the biggest misconceptions about alternative pencils is that they’re expensive. While some can be, many of my favorite writing tools cost only a few dollars and can be found online, at office supply stores, or even the dollar store.
Find my favorites in my Amazon Store.
Consider including:
- Magnet letters
- Dry erase locker name magnets
- Yard sale dot stickers
- Address labels
- A label maker
- Letter stamps
- Dry erase markers
- Fine-tip markers
- Small cookie sheets
- Laminated picture cards
- Plastic animals
- Mini erasers
- Character figures
- Clipboards
- Whiteboards
- Chromebooks or tablets, if available
- AAC devices for students who use them
Don’t feel like you need every option on day one. Start with a few favorites and gradually add new tools throughout the year. Students actually enjoy seeing something new appear in the writing center every few weeks.
Introduce One Alternative Pencil at a Time
Rather than placing every writing tool in the center at once, introduce one new option every few days or once a week. Students become excited whenever a new writing tool appears, and it gives everyone time to learn how to use it before adding something else.
Here are a few of my favorites.
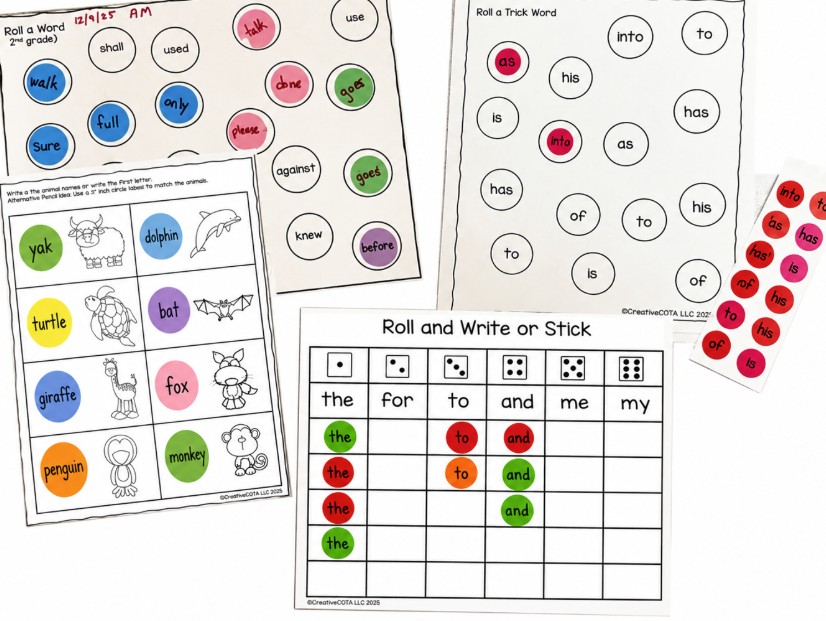
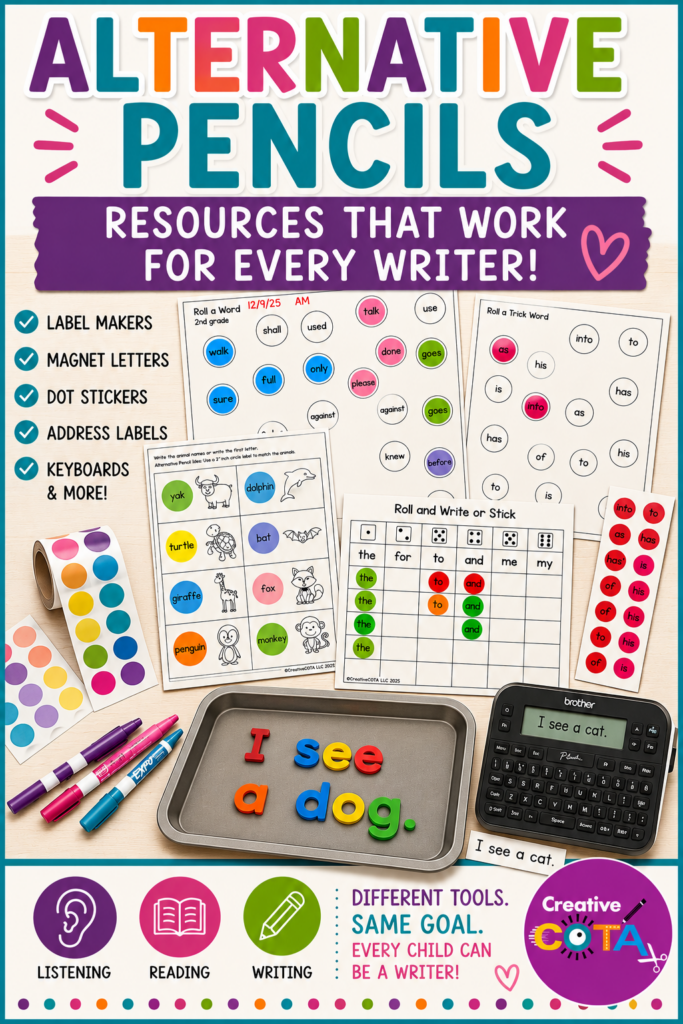
Yard Sale Dot Stickers
Large colored pricing stickers are one of the easiest alternative pencils to introduce. Students love peeling and placing the stickers, and the simple act of using them often removes some of the frustration they associate with handwriting.
They’re perfect for:
- Building sight words
- Roll and cover activities
- Spelling practice
- Creating simple sentences
- Labeling pictures
- Answering writing prompts
They’re inexpensive, motivating, and easy to prepare. You can write letters or words on the sheets ahead of time depending on the activity or worksheet you have.
Address Labels
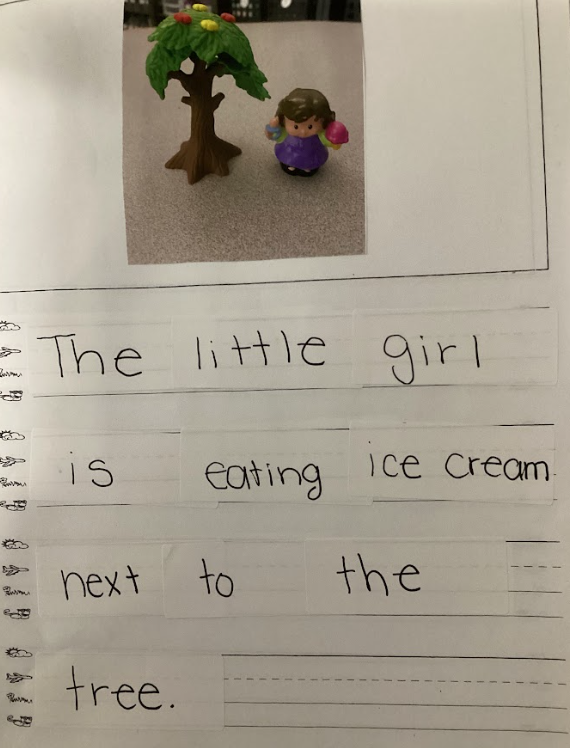
Address labels are probably one of the most versatile tools in my writing center. You can type or handwrite words ahead of time, allowing students to build sentences, answer questions, label pictures, or complete writing prompts without the motor demands of handwriting every word.
They’re wonderful for beginning sentence writers because students can focus on reading, organizing ideas, and communicating instead of worrying about letter formation.
Pro tip: see if your school secretary has sheets they are no longer using because one or two stickers are missing.
Magnet Letters or Other Letters
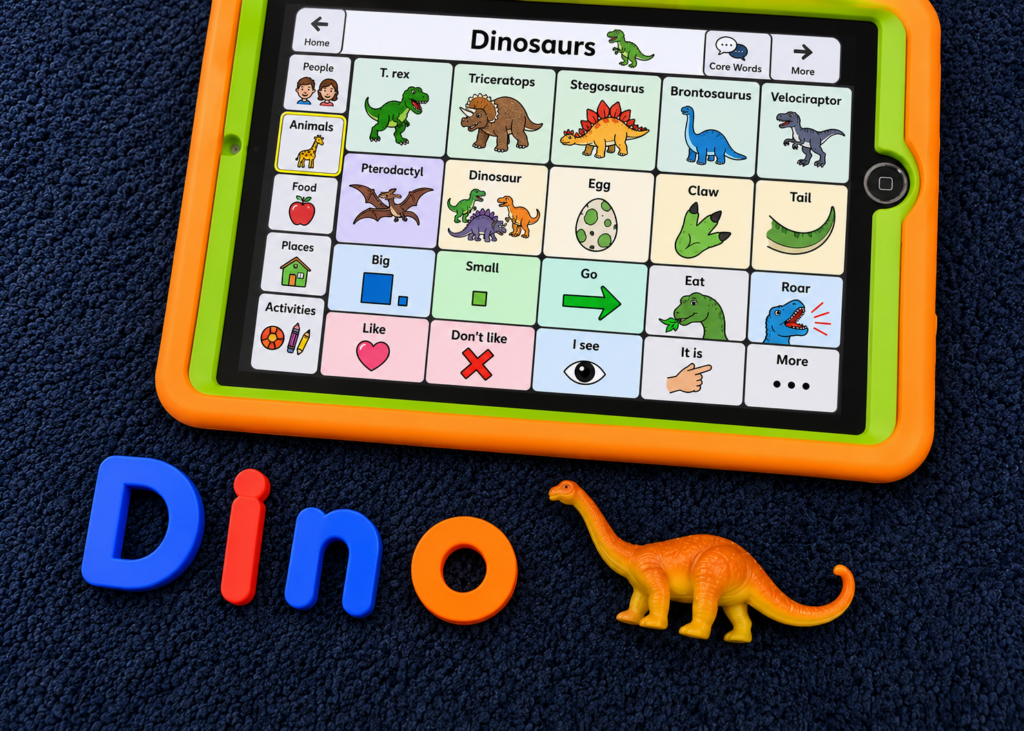
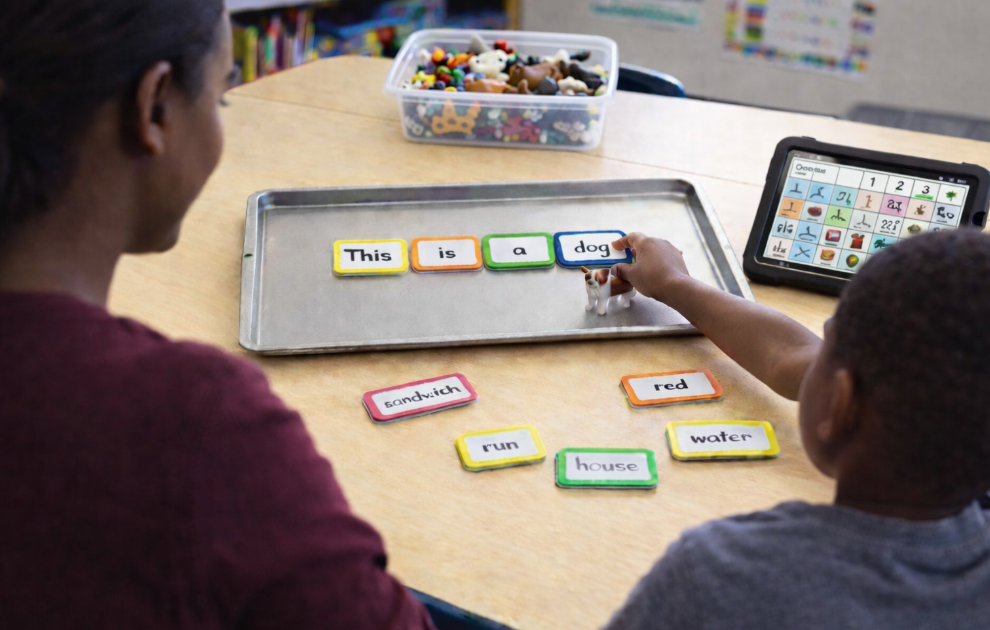
Magnet letters are one of the easiest and most versatile alternative pencils you can add to a writing center. Pair them with a small cookie sheet or magnetic board, and students instantly have a portable writing surface that keeps everything in one place.
When introducing magnet letters, start with simple activities before expecting students to write complete sentences.
Some favorite ideas include:
- Putting the letters in ABC order
- Matching uppercase and lowercase letters
- Building sight words
- Making CVC words and word families
- Labeling favorite animals or characters
- Spelling weekly vocabulary words
- Creating simple sentences from picture prompts
I like to keep one cookie sheet with the letters written in alphabetical order with Sharpie. It makes it much easier for beginning writers to match letters while also reinforcing letter recognition and alphabetical order. As students become more confident, they naturally begin building longer words and sentences.
Locker Name Magnets
Dry erase locker name magnets are another inexpensive classroom supply that can become a powerful writing tool. Instead of writing one letter at a time, students use a Sharpie to write whole words on the magnets, then arrange the magnets to build sentences.
Because each word is on its own magnet, students can easily rearrange their sentence, add descriptive words, or fix mistakes without erasing everything and starting over.
One of my favorite activities is keeping a basket of laminated picture cards nearby. Students choose a picture and create simple “I see…” sentences.
For example:
- I see a tree.
- I see two dogs.
- I see a yellow school bus.
As students gain confidence, they can create longer descriptive sentences or even short stories.
One question I hear all the time is, “How do you erase the Sharpie?”
It’s easy. Simply color directly over the permanent marker with a dry erase marker, then wipe it away with a cloth or paper towel. If the words have been on the magnets for a while, a little dry erase board cleaner usually removes any remaining residue.
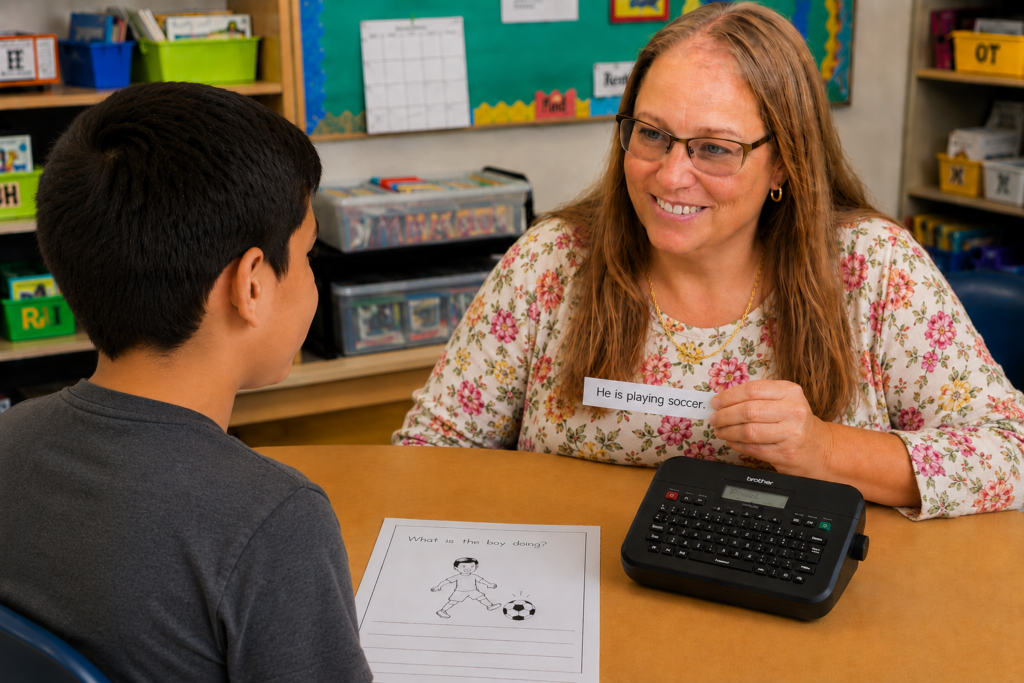
Label Makers
If you’ve never introduced a label maker into your classroom, prepare to have students asking to use it every day.
There is something incredibly motivating about watching their words print onto a label. Students can create words, phrases, complete sentences, or even short stories before placing the labels onto their paper. The novelty alone often encourages reluctant writers to participate.
Give Students Something Meaningful to Write About
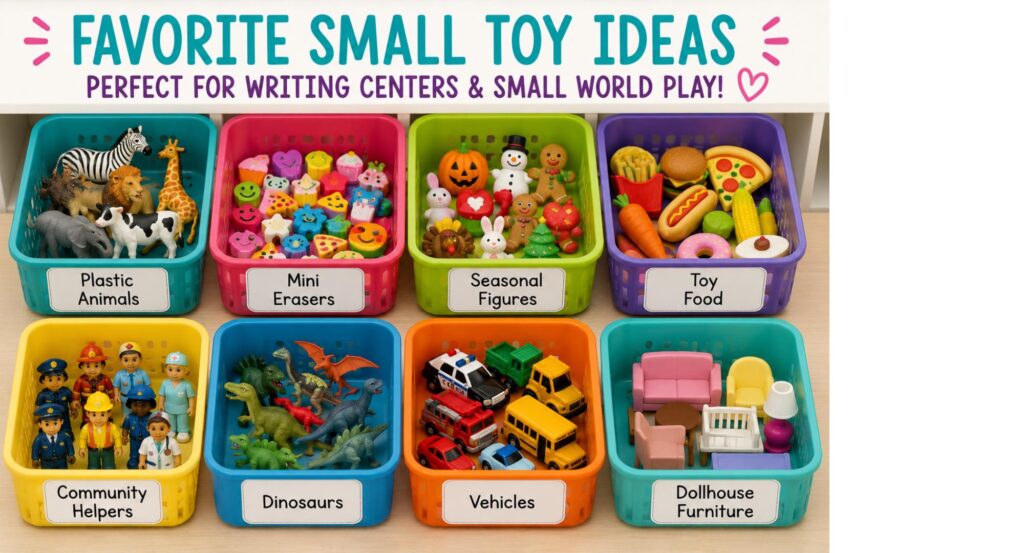
One of the easiest ways to increase writing is to give students something they’re excited to talk about. Keep a basket of small manipulatives in your writing center that students can use as inspiration for labeling, sentence writing, and storytelling.
Some favorites include:
- Plastic animals
- Mini erasers
- Seasonal figures
- Toy food
- Community helpers
- Dinosaurs
- Vehicles
- Dollhouse furniture
- Popular character figures like Disney, Paw Patrol, Bluey, superheroes, and other favorites you can often find at the dollar store
These inexpensive items become instant writing prompts.
Students can:
- Label each object.
- Write I see… sentences.
- Describe the object using adjectives.
- Compare two objects.
- Sort them into categories and explain why.
- Create silly stories using several figures.
- Retell familiar stories.
- Write what each character might be thinking or saying.
One of my favorite activities is placing several plastic animals on the table and asking students to create a story about them. Sometimes the stories are completely silly, and that’s perfectly okay. When students are motivated by the materials, they’re practicing reading, spelling, vocabulary, sentence structure, and storytelling without even realizing it.
One of my favorite sayings is, “Students get more accomplished when it doesn’t smell like work.” This activity is a perfect example.
Digital Alternative Pencils
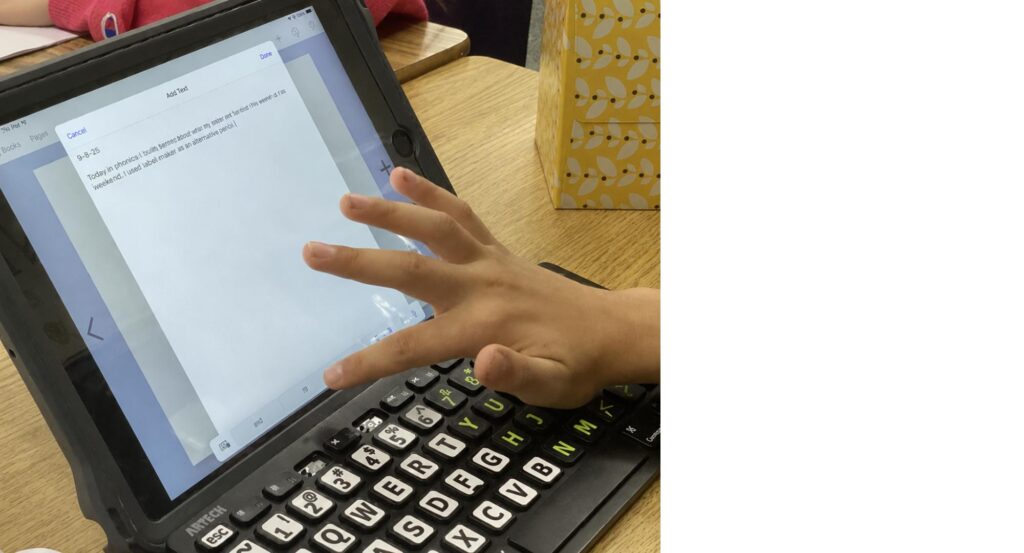
As students become more independent, consider adding keyboards, tablets, Chromebooks, AAC devices, or voice-to-text to your writing center. These tools allow students to generate text more efficiently while still participating in the same classroom writing activities as their peers. I love the apps BookCreator and Snaptype as alternative pencils.
You Don’t Need Different Writing Activities
One of the questions I hear most often is, “What do students write with alternative pencils?”
The answer is simple. The same things everyone else is writing.
Alternative pencils work beautifully with:
- Picture writing prompts
- Sentence building
- Story starters
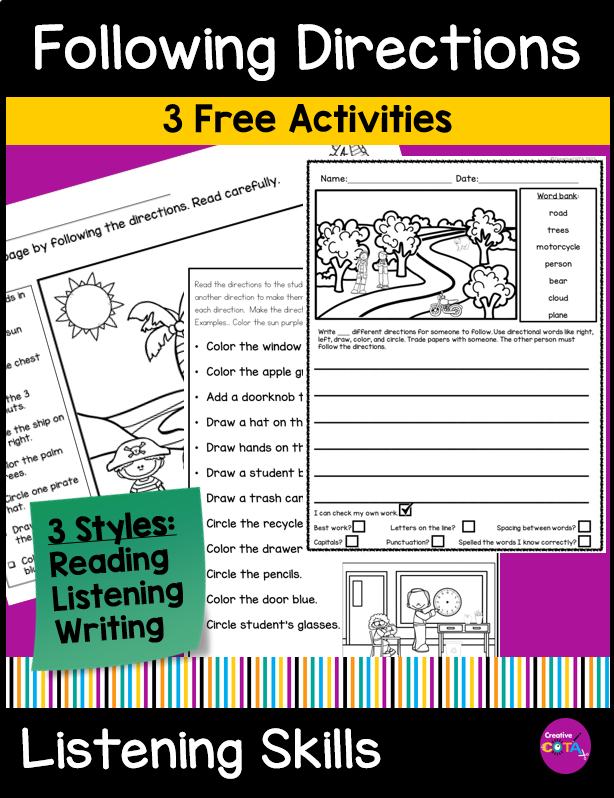
- Following directions
- Vocabulary activities
- Sight word practice
- Labeling pictures
- Opinion writing
- Reading responses
- Science journals
- Label the picture activities
- Write the Room
- Scoot activities
The writing activity doesn’t need to change. Only the writing tool changes.
Looking for Ready-to-Use Writing Activities?
If you’re wondering what kinds of worksheets work with alternative pencils, the answer is probably many of the ones you already own. In fact, many of the literacy resources in my Teachers Pay Teachers store work beautifully with label makers, address labels, magnet letters, locker magnets, keyboards, AAC devices, and other alternative pencils.
Picture writing prompts, sentence building, following directions, vocabulary activities, labeling pages, opinion writing, and many other literacy activities can easily be adapted to fit the needs of your students.
Want to Learn More About Alternative Pencils?
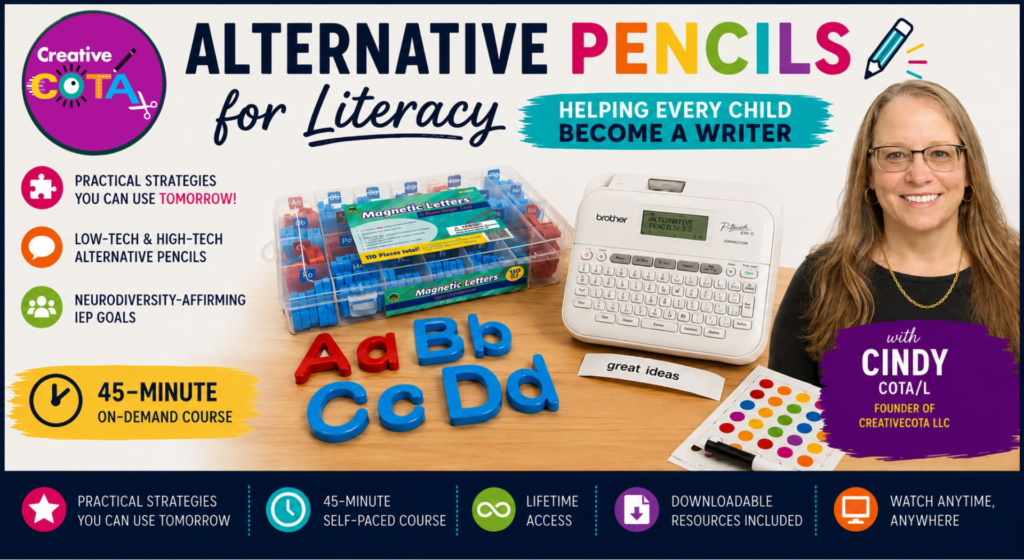
If you’re excited about the idea of creating an alternative pencil writing center but aren’t sure where to begin, my on-demand course, Alternative Pencils for Literacy: Helping Every Child Become a Writer, takes a deeper dive into the process. Inside, I share how to choose the right alternative pencil for different students, introduce new writing tools, set up meaningful literacy activities, and encourage classroom carryover. You’ll also see real examples from my therapy sessions, learn how we use “generate text” in IEP goals, and receive printable guides and planning tools to help you get started. Whether you’re an occupational therapist, speech-language pathologist, special educator, classroom teacher, or parent, you’ll leave with practical ideas you can begin using right away.
About the Author
Hi, I’m Cindy, a school-based Occupational Therapy Assistant with nearly 30 years of experience helping neurodivergent and autistic elementary students succeed in the classroom. Through CreativeCOTA, I share practical therapy ideas, classroom strategies, printables, and resources that save time while making learning more meaningful and engaging.
I’m especially passionate about helping struggling writers become successful communicators through the use of alternative pencils. Whether that means using a label maker, magnet letters, address labels, keyboards, or AAC, I believe every child deserves the opportunity to generate text and share their ideas.
When I’m not working with students, you’ll usually find me creating new resources for teachers and therapists, writing on the CreativeCOTA blog, or testing new therapy ideas that make learning feel less like work and more like play.
If you’d like more practical ideas, be sure to explore my blog, browse my Teachers Pay Teachers store, or check out my on-demand course, Alternative Pencils for Literacy: Helping Every Child Become a Writer. I’m so glad you’re here!

Disclosure: This post contains affiliate links. If you make a purchase through one of these links, I may receive a small commission at no additional cost to you. Thank you for supporting CreativeCOTA!